|
| Boeing F/A-18 Super Hornet on a fast pass |
This year's show was great, in terms of the aircraft and flying. Great variety, with some types (like the Osprey) that I've never previously seen. But the weather this summer has been miserable, with the jetstream stuck in the wrong place, directing cloud, cold and rain at us, and only rarely letting the sun through. Great flying, but grey skies don't make for attractive backgrounds to pictures. I was there from Thursday afternoon to Saturday, as I'll recount below.
Arrivals:
Thursday
This year
I was able to get there for the Thursday afternoon of the arrivals. Yay - it
was hot and sunny! For the Thursday afternoon the weather relented, and I
joined Graham (Flickr:nacl1) in the field at the end of the eastern end of the
runway.
There was
a wonderful selection of aircraft arriving of the sort that you never normally
get to see, including some of those truly garish paint schemes that come up
each year at RIAT.
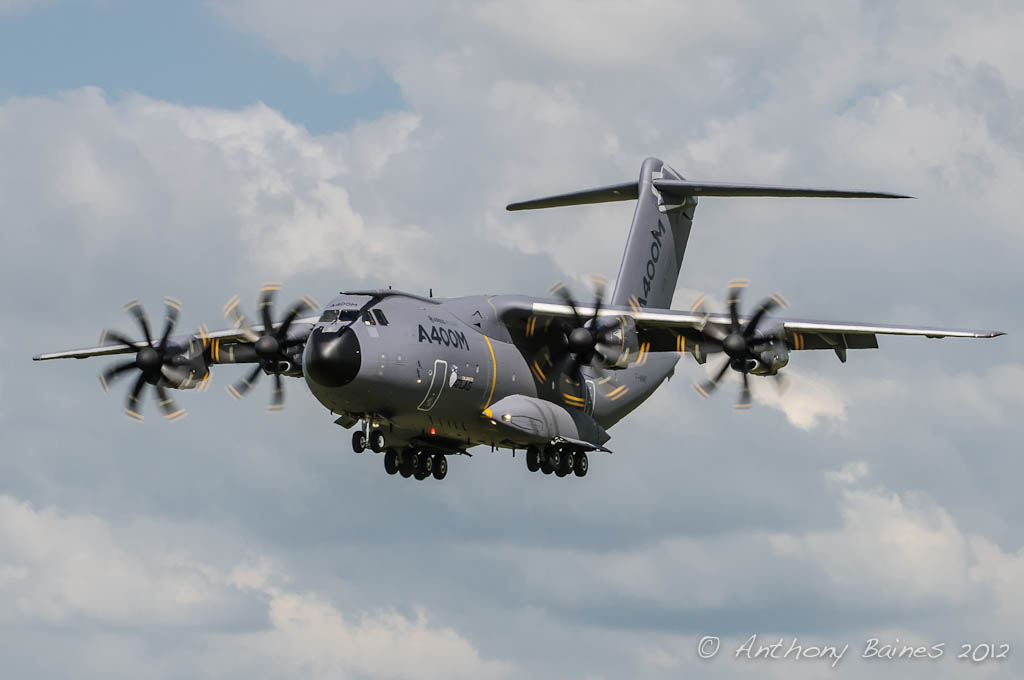 |
| The Atlas Arrives |
The A400M
is the new military transport, now named Atlas. A huge monster.
 |
| Tiger Tornado |
I did
like the look of this Tiger Tonka.
 |
| Etandard |
The skies
were starting to cloud over when this Super Etandard Modernisé arrived. Bearing
in mind this year's anniversary of the Falklands conflict, this type has a
pertinent historic significance.
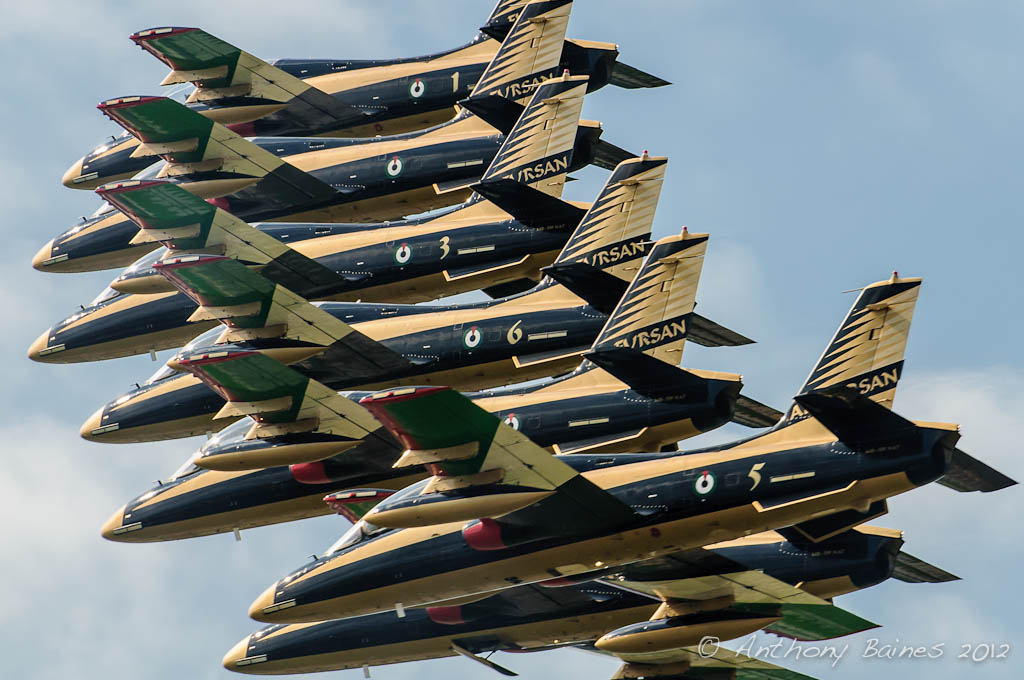 |
| Al Fursan stack |
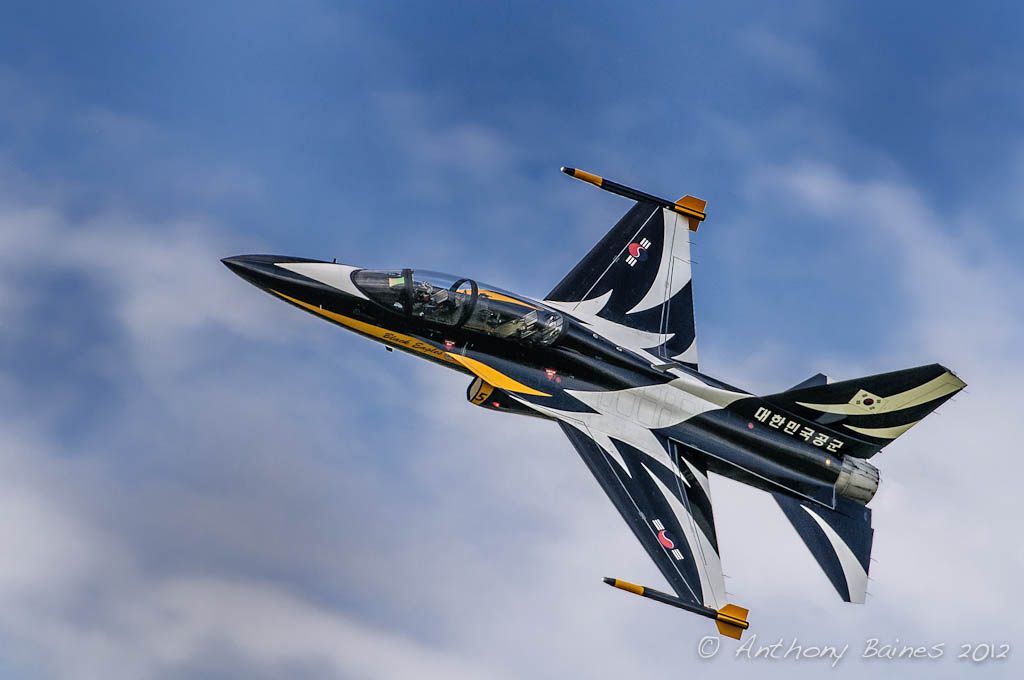 |
| Black Eagles T-50 |
Several
teams went up for practice, including Al Fursan from UAE and RoKAF Black Eagles. The
Black Eagles, in particular, put on an excellent display culminating in drawing
a yin-yang sign against the blue sky -- unfortunately I only had the 200-400 mm
lens on at that point, and the sign was too big to capture with that lens.
All in
all, a glorious afternoon with some wonderful flying.
Practice:
Friday
The
weather on the Friday was simply and straightforwardly pants. There's not many
pictures to show from that day, even though we did get a little bit of flying.
I spent most of the day in the car sheltering from driving rain, while the
occasional aircraft went up to see if there was room under the cloud base for
practice. I was most impressed with the way that the Korean Black Eagles went
up to probe the cloud base: they disappeared at about 400 feet, but
nevertheless kept looking to try to put on a display, but in the end had to
admit defeat. Later, the team captain came on Wings Radio, the RIAT FM radio
station, to apologise for the “inconvenience”. We were all slightly gobsmacked
about such a wonderfully polite apology, when we thought we should be
apologising to them for our ghastly weather.
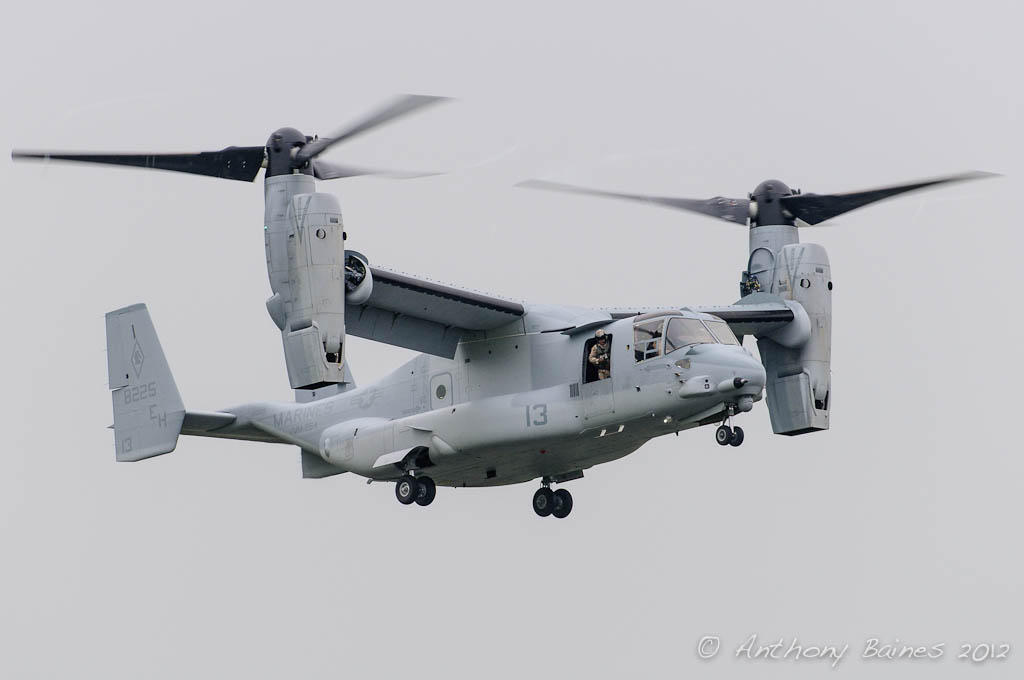 |
| Bell Boeing MV-22B Osprey of VMM-264 |
I did at
least get a sighting of the V22 Osprey: I've never seen one before. Most
impressive.
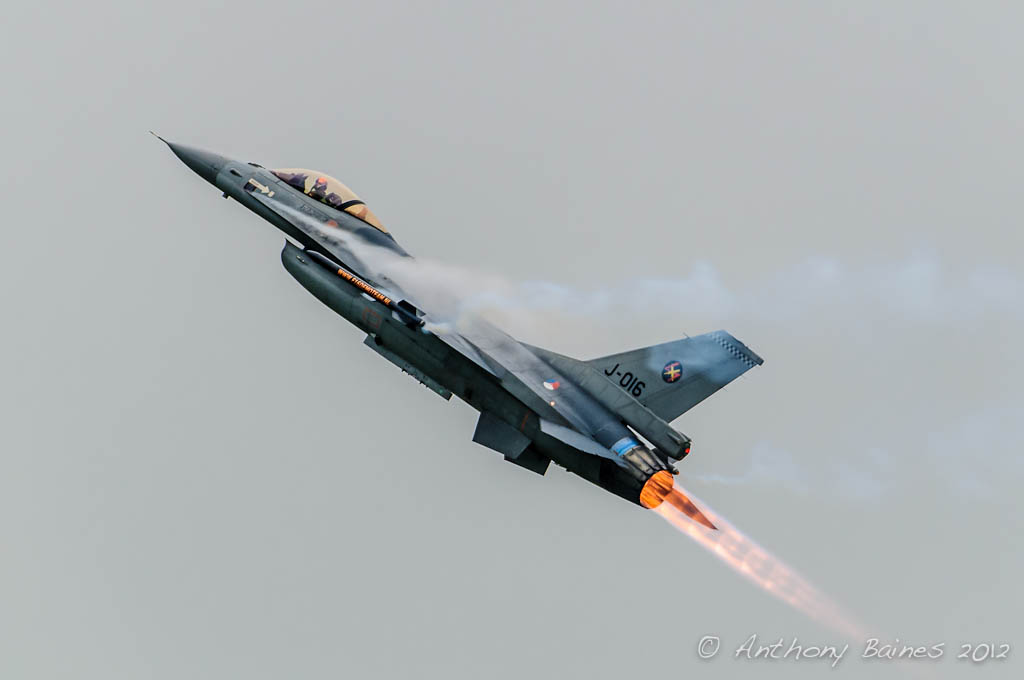 |
| Dutch F16 in the gloom |
One
practice that did get going at least was the Dutch F16. The pilot, Stitch,
very bravely went up late in the afternoon to try a practice display. The light
was so awful that his burner stood out brightly against the dark grey sky. At
one point, he appeared out of the clouds and found himself still heading down at very low
altitude: his wings wobbled as he pulled up as hard as he could. For a moment
we all thought he was going to end up in the pond by Rhymes Farm. As I
understand it he was immediately given a red card by the controller and had
to land. The Dutch team tweeted about it later. In the field, we were all
joking about Stitch having to go off and land so he could change his trousers
after that.
Display
day: Saturday
Arriving
for the day, I was worried we will get no flying at all. The cloud was again
low and the rain was coming in. However midmorning, the Ospreys started to move
and I got some nice vapour pushed down from the rotors. Later on the sky transiently showed some blue stuff, when the clouds got out of the way: not often, but once in a while.
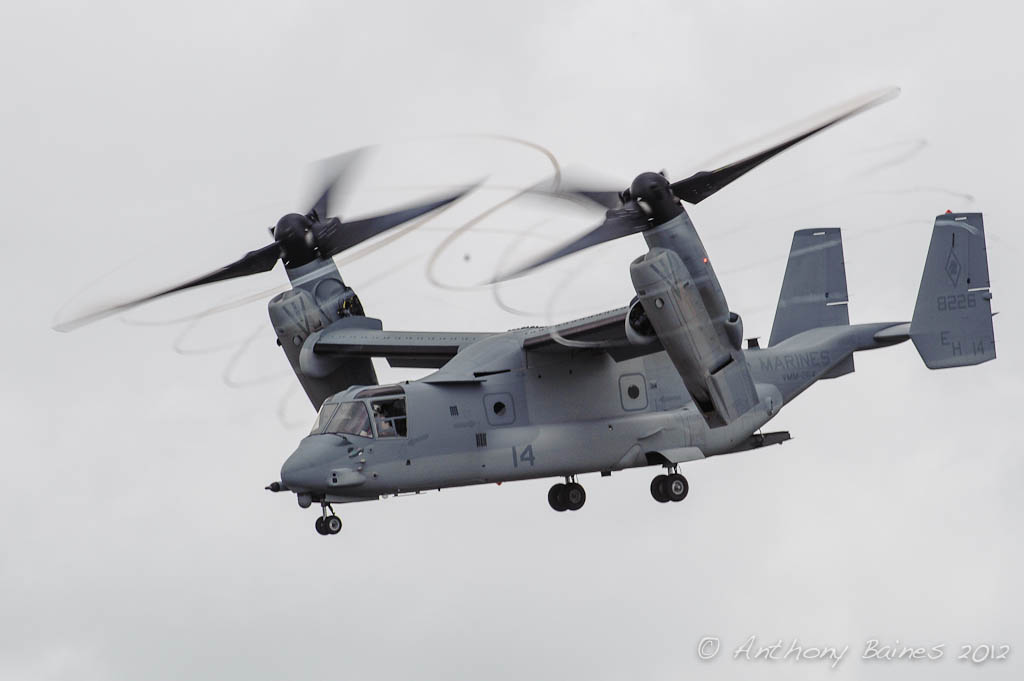 |
| Osprey with vapor |
After
that displays came up one after the other, although mostly they had to run a
low rolling display. The Korean Black Eagles again did a wonderful job, and I
hope they come back soon.
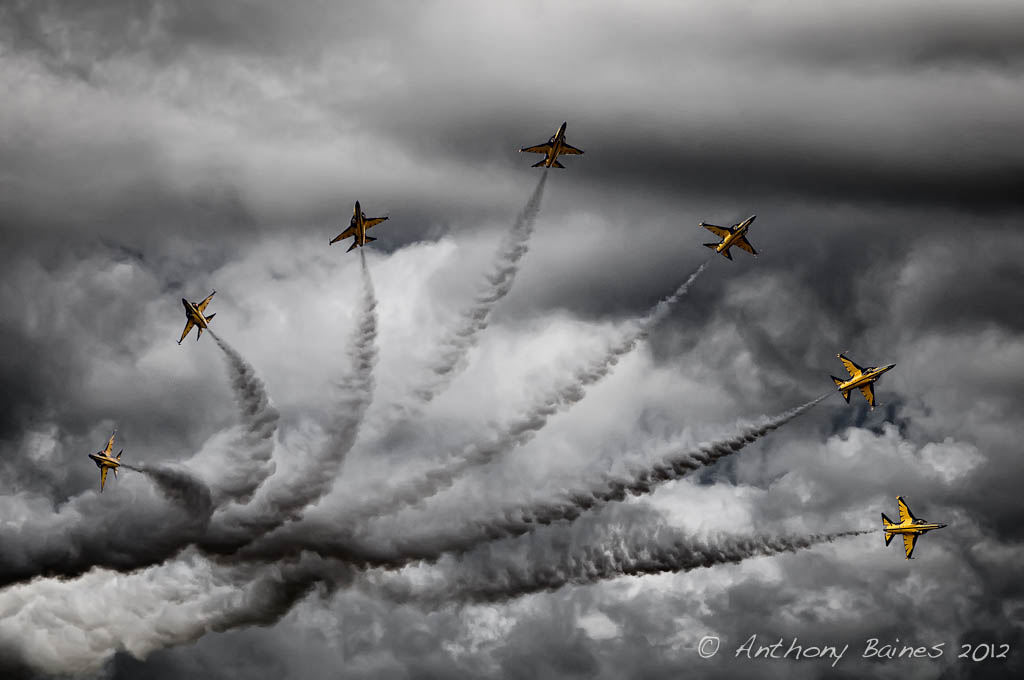 |
| Black Eagles Burst. And I haven't desaturated the sky: just increased contrast with an L channel curve. It looks like colour popping, but isn't. The sky really was that grey! |
I'll just
put up a couple more pictures here to illustrate the changeable nature of the
weather.
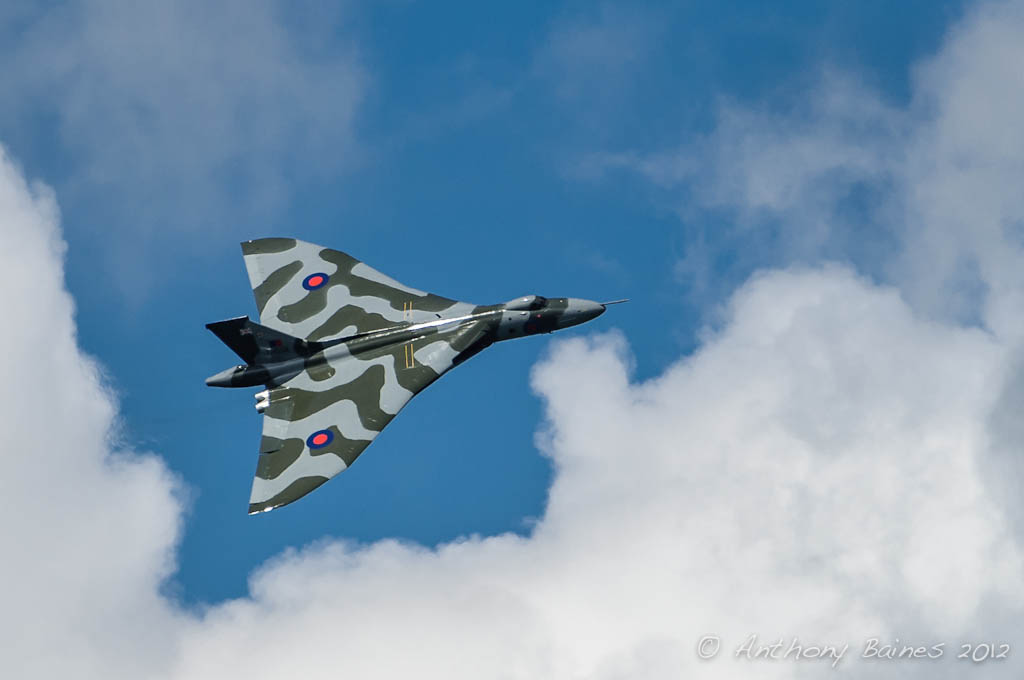 |
| As a contrast to the previous picture: blue sky greeted the Vulcan |
 |
| Likewise, the RAF Display Tucano got plenty of the blue stuff |
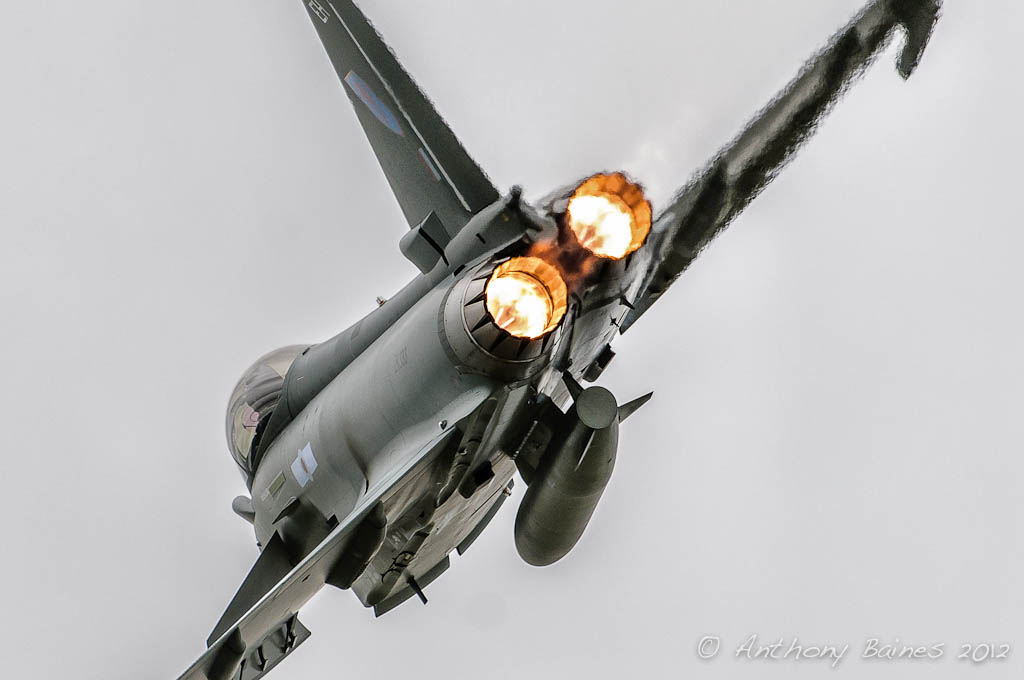 |
| But the grey gloom returned for the Typhoon |
It was
one of those days when I was quite happy to leave a little earlier than I might
have, just to avoid the worst of the mud. RIAT is always a great show every
year, but this is now twice in just a few years when the weather has really let
us down. In 2008 the weather was so awful and the car parks were reduced to
impassable mud that the whole show was cancelled. Nevertheless, three days of enjoyable displays, and types I would never otherwise see.
Roll on
next year!