 |
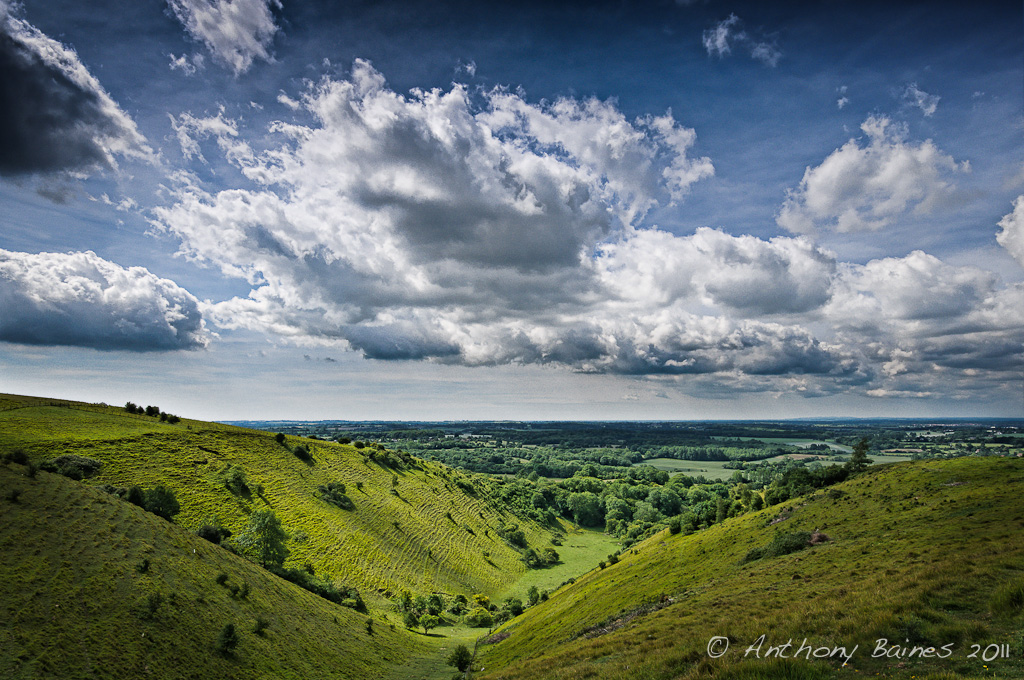
| The Devil's Kneading Trough, Kent, UK |
The clouds were lovely the other day, so I took the opportunity to pop up onto the North Downs overlooking Wye and make some pictures over the Devil's Kneading Trough.
The clouds were very bright — about four stops above the foreground. There are several ways you can go about dealing with this kind of brightness difference. A well exposed raw image should contain information pretty much across the brightness range, so it should be possible to get a good picture from a single image with careful processing of the raw image. Alternatively, many people would choose to make an HDR image by blending, say, five exposures separated by one stop each. Careful tone mapping of the blended exposures in e.g. Photomatix or CS5 should give a very nice image. Another approach would be to make one exposure for the sky, another for the foreground and then merge them in Photoshop using layer masks. My general preference, however, is to use graduated neutral density filters. ND grads have the great advantage that they are very simple to use, and reduce the amount of fiddling needed in post-processing.
As a rough rule of thumb, I like to place clouds about 1-2 stops above the foreground exposure to give a believable range of tones in the resulting print. So, I made some exposures with Lee 0.6 and 0.9 hard ND grads (the 0.6 is a 2 stop grad; the 0.9 is 3 stops). In the event, the 0.6 looked better on the screen when I pulled it up at home. I needed to do very little to this image, except give a little oomph to the sky by boosting the contrast.
Very nice photo Anthony, and an informative explanation of how to take such shots. Most helpful.
ReplyDeleteExcellent viewpoint and very dramatic!
ReplyDelete